

Connecting your ESP32 to Firebase can open up a whole new world of real-time data communication. Whether you're building an IoT home automation system or a data logger, Firebase lets you sync data between your device and the cloud effortlessly.
In this tutorial, we’ll cover:
-
What Firebase is
-
How to connect ESP32 to Firebase
-
Uploading and reading data
-
A real-world example: temperature logging
What is Firebase?
Firebase is Google’s platform for building web and mobile apps. It includes services like Realtime Database, Authentication, Hosting, and Cloud Functions. For embedded systems, Firebase Realtime Database is the most relevant — it allows you to store and sync data in real-time.
Prerequisites
-
ESP32 board
Firebase Account
-
Arduino IDE
-
Wi-Fi connection
-
Created Firebase project with Realtime Database enabled
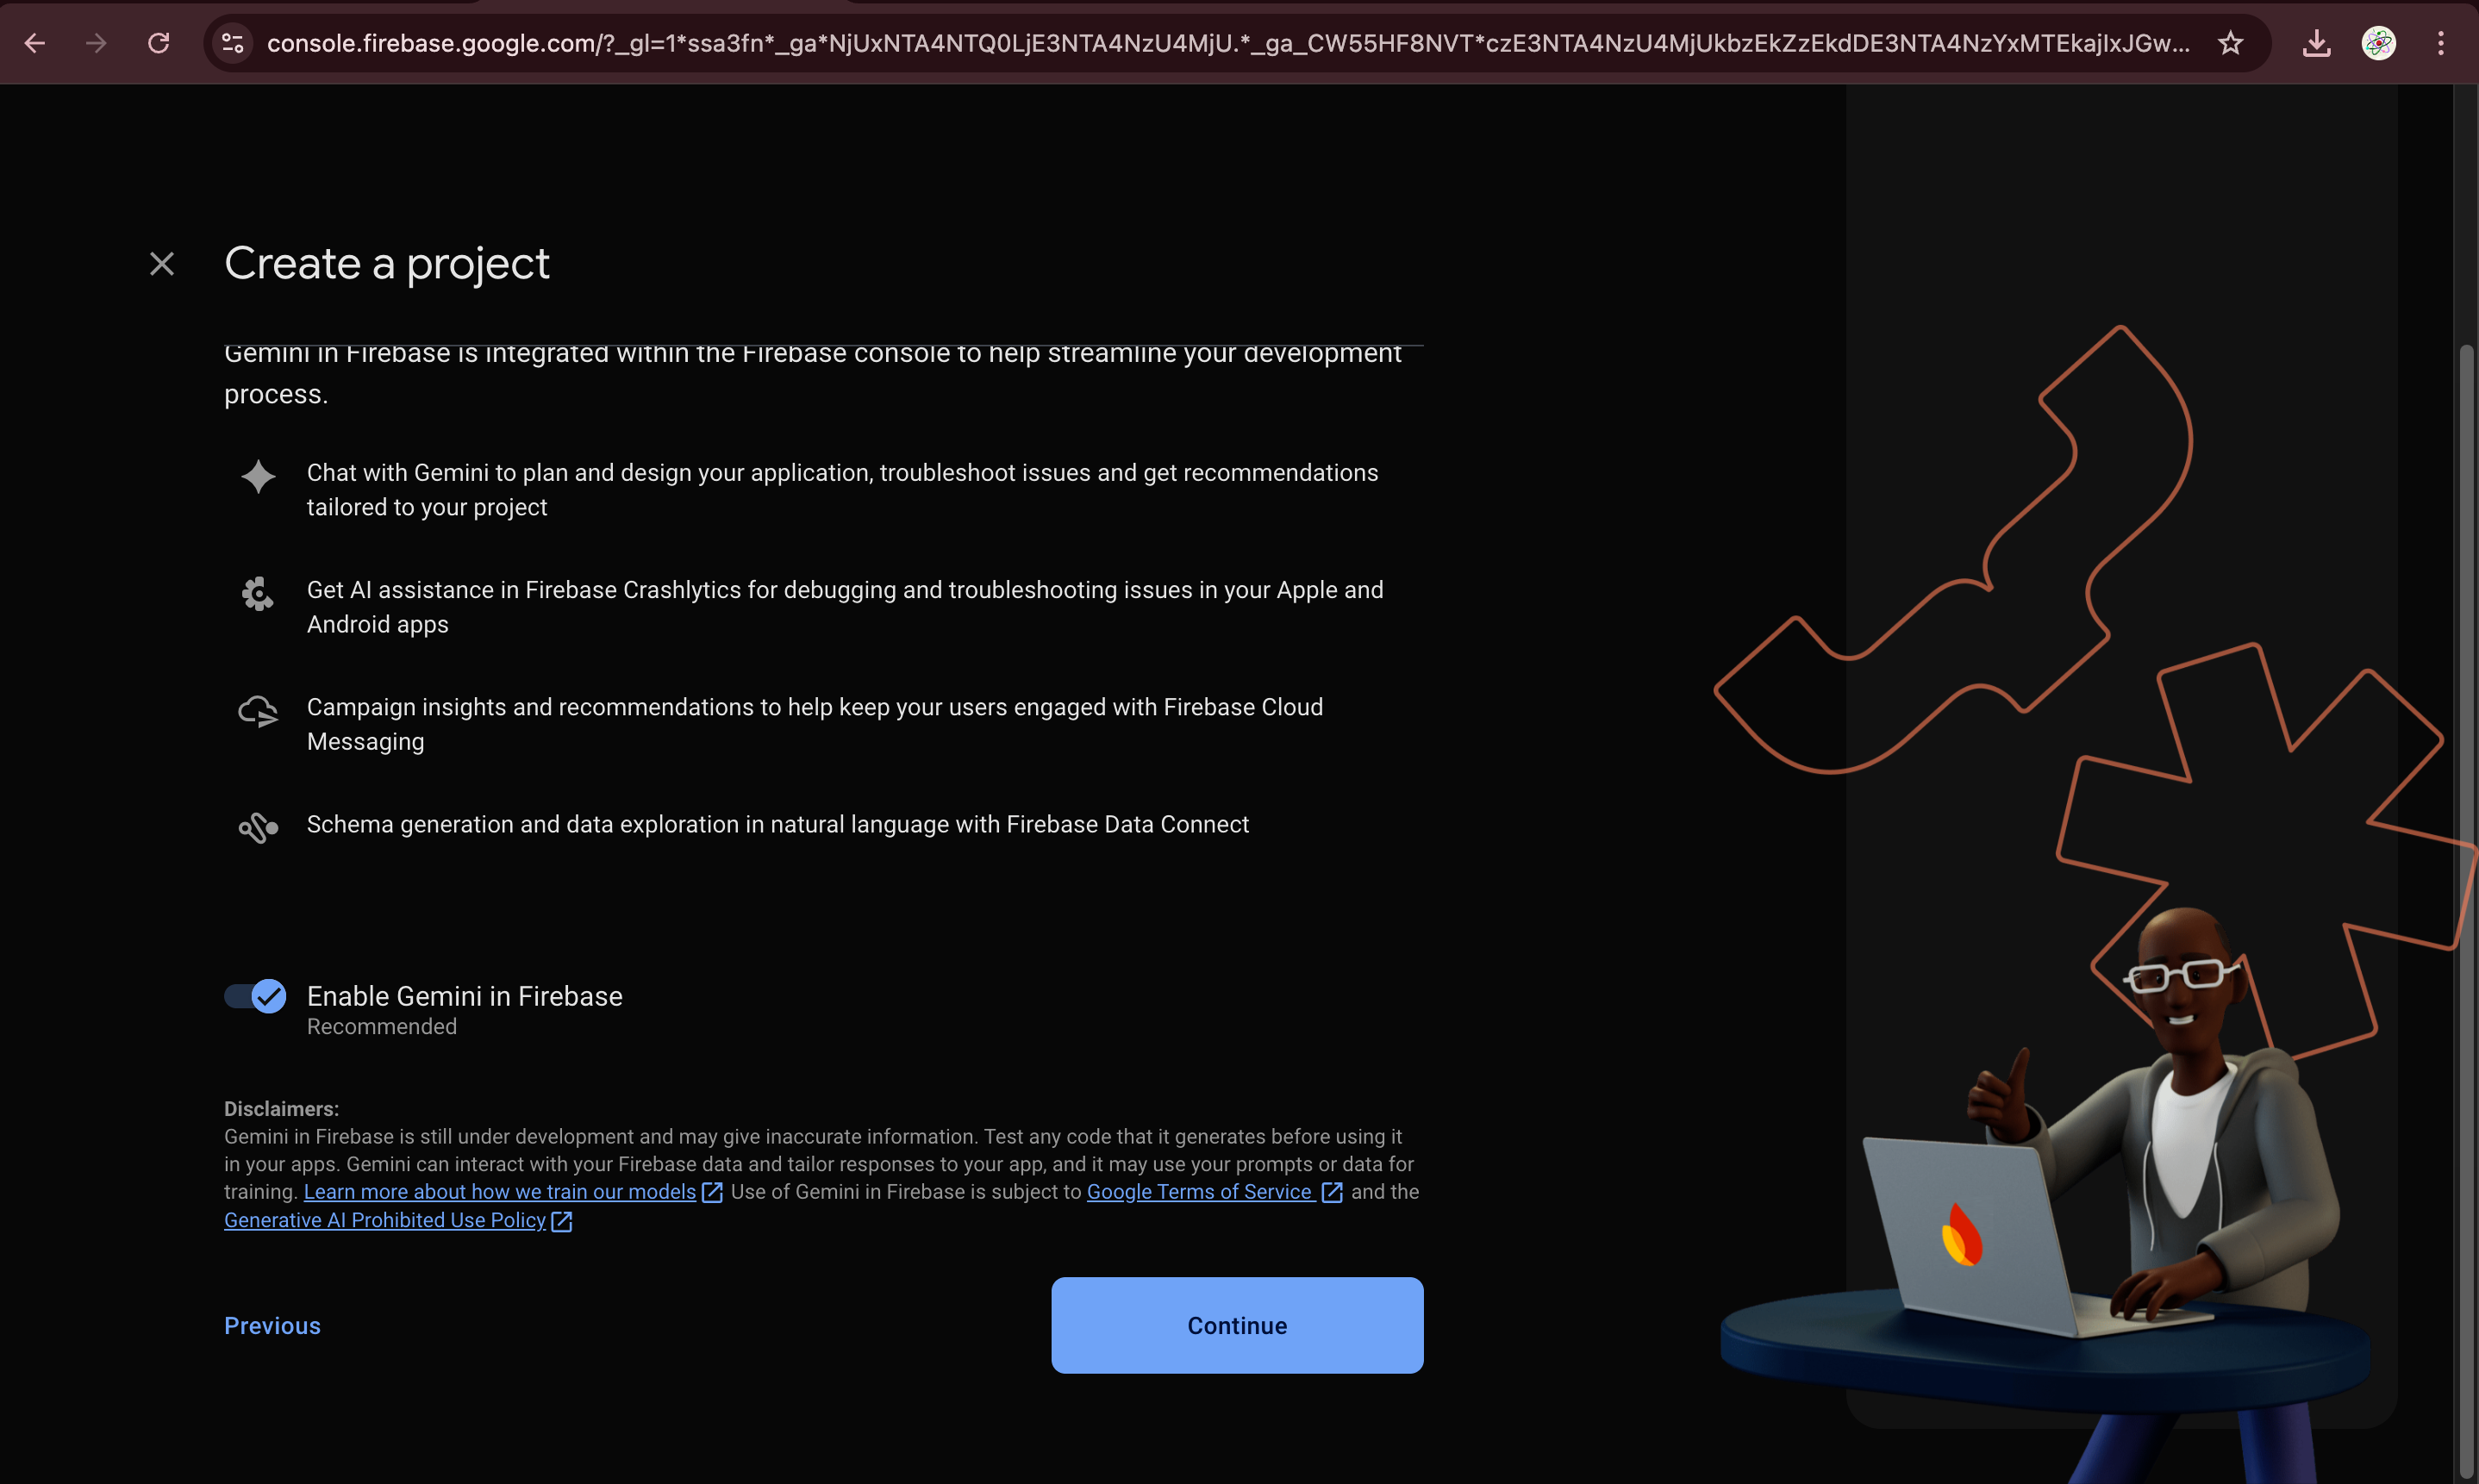
Creating first project on firebase
Setting up Realtime Database


9. Set up security rules for your database. For testing purposes, select Start in test mode. In later tutorials, you’ll learn how to secure your database using database rules

10. Your database is now created. You need to copy and save the database URL in the following image—because you’ll need it later in your ESP32 code

Authenticate the project


5. The User will show up on the list of users. You can see information about the user, like when it was created, the last time it signed in, and its user UID.


.jpeg)
0 Comments